E-signature & Communications Guide for Short Term Rental Direct Bookings
In my last post, we explored the benefits of direct bookings and tackled the essentials: permits, regulations, rental agreements, and taxes. This time, let's dive deeper into guest communication – a critical piece of the direct booking puzzle. In future posts, we'll cover invoicing & payments, keeping your calendars in sync, marketing your offering, website creation, and collecting reviews from your direct book guests. Guest communications for direct bookings fall into two main categories: contractual and reservation-related.
Reservation-Related Communications
When guests book directly, there's no dedicated platform for communication. Clearly outline your preferred communication channels, how often guests can expect updates (especially regarding check-in), and how to reach you in an emergency.
For standard inquiries and check-in details, I recommend using the same channel where the booking originated. If a guest contacted you through Facebook or Instagram, keep the conversation there initially. For website or Houfy bookings, transitioning to email or text might be smoother. Always provide your direct contact info within that communication thread and prominently feature it in your guest book.
One component lacking for establishing a direct booking model without a PMS tool is the ability to create & automate templates. I recommend creating a playbook in a Google Doc, where you add each of your template responses. We’ll talk about automating these messages in a later post.
Contractual Communications
Contractual communications primarily involve the execution of your rental agreement and additional forms or waivers. E-signature software streamlines this process, making it much easier than traditional print, sign, and scan methods. Let's address a common question: Are rental agreements executed via e-signature software legal and legitimate? Yes!
The E-sign act provides that any law with a requirement for a signature may be satisfied by an electronic signature; allows electronically executed agreements to be presented as evidence in court; and prevents denial of legal effect, validity, or enforceability of an electronically signed document solely because it is in electronic form.
Leveraging E-Signature Templates
Once you've drafted your vacation rental agreement (ideally with attorney review), here's how to create a template in your e-signature software:
Step 1: Upload the document
Upload a PDF version of your rental agreement. Create separate templates for additional agreements. You will need 1 template for each property, so make sure to give each template a name that specifies the location.
Step 2: Configure Signers
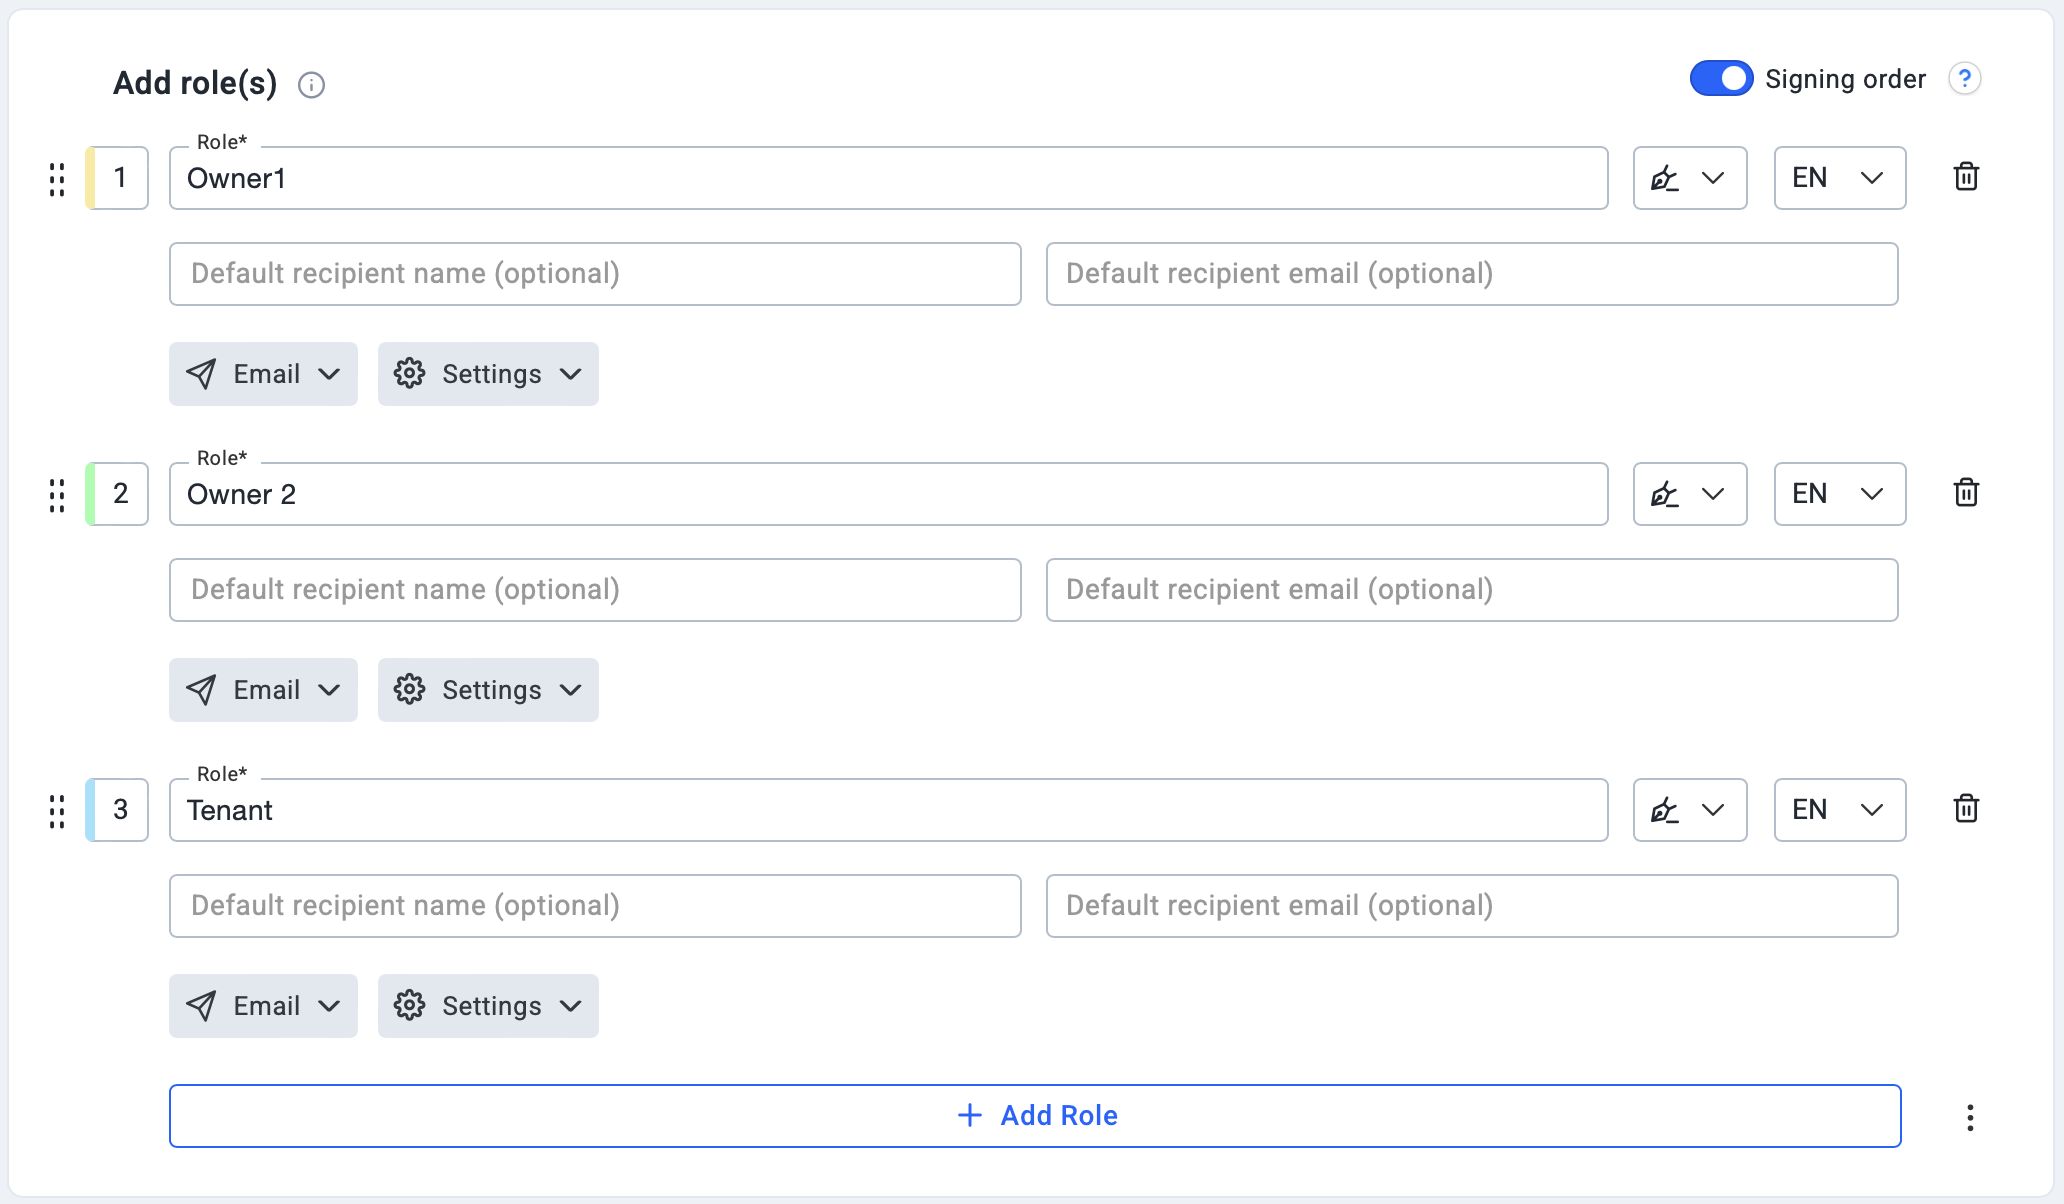
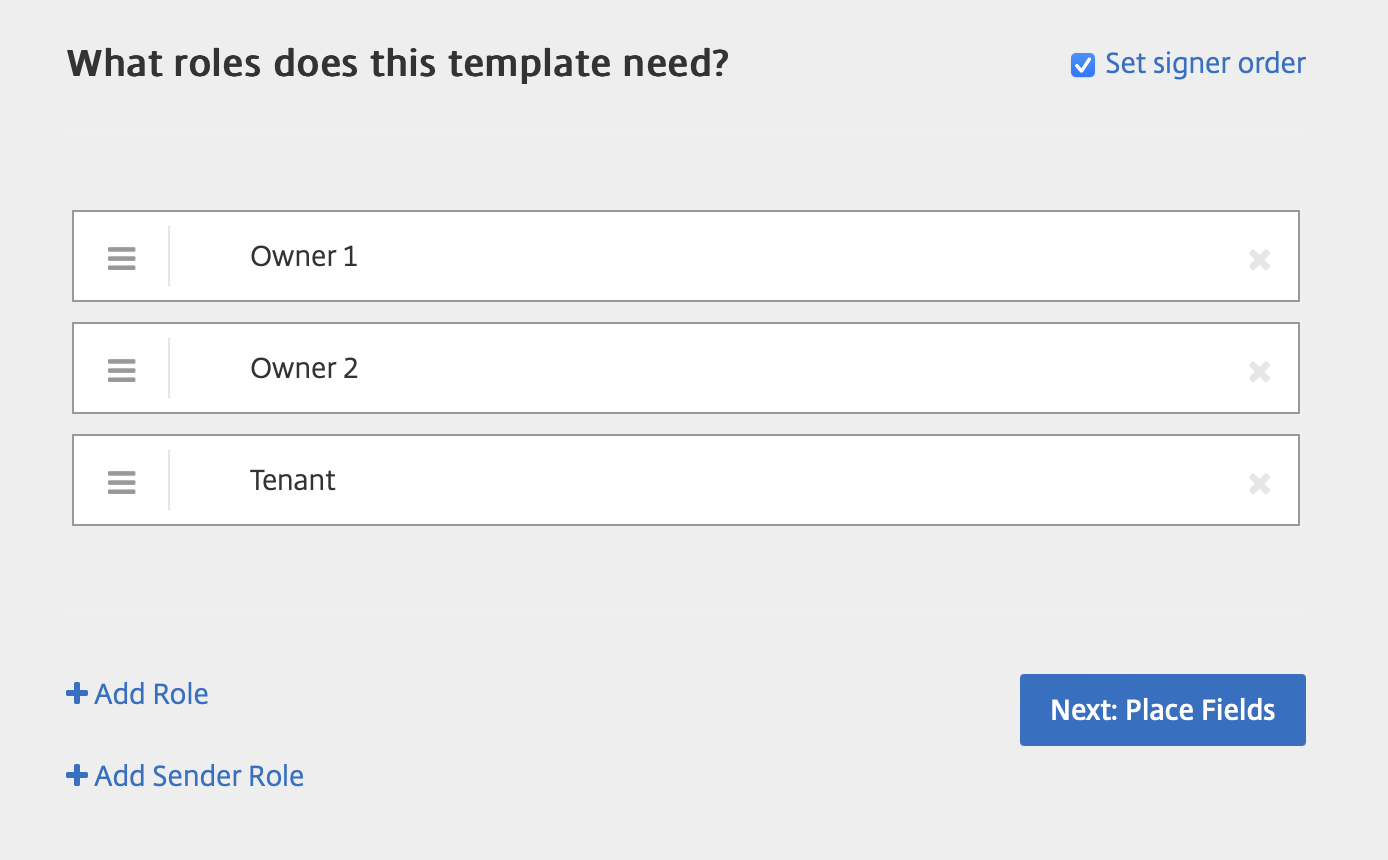
Define the number of signers for the agreement, their roles (owner/host, tenant), and a signer order to ensure that the document always goes to the owner/host(s) first. You may also be able to enable delivery & security restrictions for signers such as delivery of the document by text message (which may make things easier for host/owner signing) or requiring an OTP (one time password) code to access the document.
This is what the signer & role process typically looks like when creating a template:
Step 3: Setup the email delivery
Configure the email subject line & body that your e-signature request will be sent to. You typically keep this pretty simple. This email will be sent to everyone in your signer list, in sequential order, once each person has signed. Here’s an example:

Step 4: Add default text/text annotations.
Some elements do not change from reservation to reservation. These items can be entered using the default text option, to save you from having to re-enter them every time a new direct booking comes in. Examples of items that don’t typically change and can be configured as default text include:
Owner/Host contact information (name, address, email, phone)
Property address
Occupancy limits
Quiet hours
Deposit/trust account bank name & address
Standard fees (cleaning, linens, pet, resort, cancellation, late payment)
Addenda forms that also need to be signed
These text fields can typically be updated in your template settings if you need to change something later. If you choose to leverage the default text fields, it is best practice to create a separate template for each property.
Step 5: Add form fields and assign them to a signer
Add a form field for the remaining fields in your rental agreement that will change for each booking term (like dates, pricing, guest info, etc). Assign each field to a signer & determine if the field is required. Some fields (like dates & pricing) will be assigned to the owner/host signer, while other fields will be assigned to the guest/tenant.
E-signature softwares typically offer a variety of field types that you can add such as text, initials, date, signature, check boxes, drop downs, file uploads & some even offer payment integration support.
In addition to the standard fields, I recommend adding the file upload option to the bottom of your rental agreement to request copies of the tenant’s ID, such as a driver’s license or passport.
Initiating the Signature Process
Now you're ready to use your template! Here's the basic flow:
Host/owner starts the process by accessing the template.
Enter the email addresses for the relevant parties (one of these email addresses will be your own if you are the host/owner).
The agreement is sent to signers in designated order.
Upon completion, all parties receive a copy with a signature certificate.
(Optional) Configure automatic storage (e.g., Google Drive).
Advanced Tip: Use Zapier with your e-signature software to automate tasks like sending invoices.
So which software should you choose?
Here’s a comparison table of some of the more popular e-signature tools for vacation rental owners.